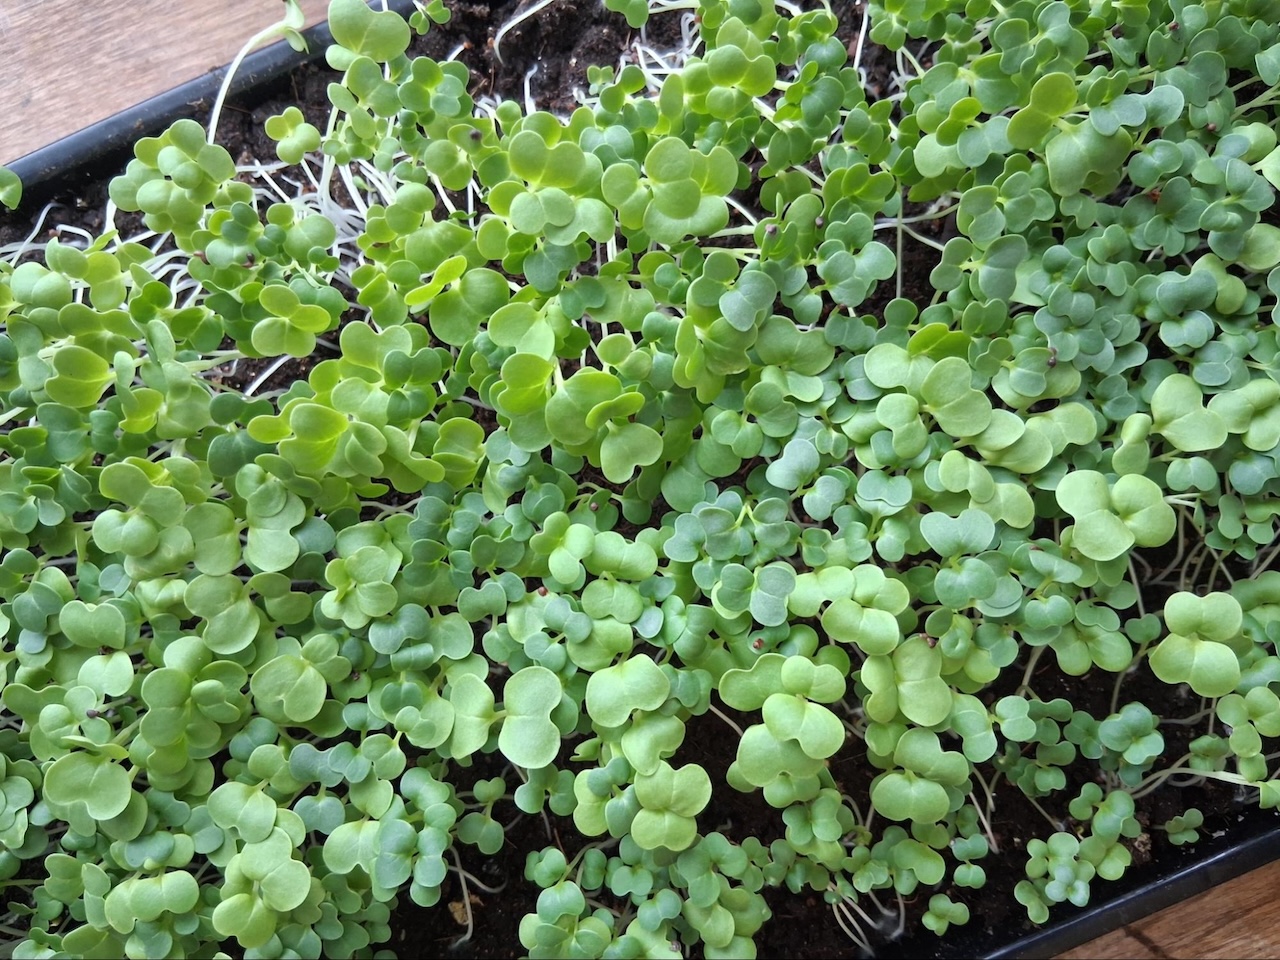
I am harvesting a handful of gorgeous fresh microgreens today, snipping a few immature brassica plants less than two weeks after densely sowing seeds onto a tray of shallow soil set near a south-facing window. With our fickle March weather, it is a delight to be growing greens indoors while the snow is blowing sideways outside.
Microgreens are very young plants that are just putting forth their first leaves, harvested at about two inches tall. Microgreens are beyond the no-leaves-yet sprout stage, but less mature than baby greens sold at the market that are young true leaves.
I will now geek out on the wondrous world of plants! The first leaves that emerge from a sprouted seed are called cotyledons (seed leaves), and they look entirely different from the plant’s signature foliage (true leaves) that will appear next. These seed leaves provide energy to the infant plant until the plant can photosynthesize, helping to make the shift from internal energy to sun-sourced solar power. I love to think about leaves as tiny solar panels.
God’s creation is truly awesome! It’s amazing how these little brown seeds in my hand, produced at the end of a plant’s life, when sown on a little bit of brown soil, which is made up of decomposed plant materials, emerge as new vibrant green life after just a few days of being buried. The power of resurrection!
Speaking of power, greens and God, there is a fantastic word that feels especially alive this time of year: viriditas. Literally meaning “greening power” in Latin, this term was coined by the 12th-century mystic St. Hildegard of Bingen, to describe divine energy.
This life-force in her words is: “Vigor that hugs the world, it is warm, it is moistening, it is firm, it is greening. This is so that all creatures might germinate and grow.” I hear echoes of viriditas, the greening power of God, in Psalm 104: “When you send your life-giving spirit, they are created, and the land is filled with life once again.” (From First Nations Version: Psalms and Proverbs, an Indigenous translation of the Psalms and Proverbs.)

Viriditas is felt and seen everywhere in the spring season that we here in the Northern hemisphere are entering into with the vernal equinox this week. Sap is rising in the maple trees outside now that the sun’s warmth is strengthening during the day, even as nights remain cool. Crocus and other bulbs sense the rising soil temperatures and increasing moisture which cues them to emerge from their underground dormancy into beautiful blooms. Budburst, the process of new leaves emerging, resulting from sun warmth and moisture, brings vibrant spring green to the landscape.
Hideguard’s concept of viriditas was not about describing a photosynthesizing plant phenomena. Her invitation for us is to stay connected to God’s life-force, the sap of the spirit flowing which keeps ourselves warm, wet and green, as opposed to dry and brittle. This is aliveness! My microgreen experiment indoors and the spring landscape outside testify to this greening power of God.
RECIPE
Home-grown microgreens
Microgreens contain mega concentrations of plant nutrients with many health benefits. I’m late to this microgreen trend that started in the United States when high-end chefs began using them in the 1980s. A few microgreens garnishing a plated meal adds instant fancy. Realizing they can be grown easily and affordable with simple supplies has fueled recent interest in DIY at-home microgreens. My advice is to start at a basic level and have fun!
Ingredients
- 1 shallow container (even a tin pie plate or take- out container works)
- Potting soil or seed starting mix
- Seeds (radish, broccoli and salad mixes are good starters)
- Cover (could be another container flipped upside down, humidity dome or plastic wrap)
- Sunny window or LED grow lights
- Spray bottle for misting plants, soil
Instructions

- Fill a shallow container with one to two inches of moist soil. Microgreens don’t need much soil because they don’t grow long. (Each new batch needs new soil.)
- Sow seeds densely. The spacing is much less than for mature plants.
- Press the seeds gently into the soil with your hand, being mindful to not overly compact. Good seed-to-soil contact makes for stronger root development.
- Cover the container with a lid so that it stays dark and moist for a few days which helps germination. When you begin to see little sprouts, then it’s time to remove the cover.
- Water daily by misting to keep soil moist but not wet. If your container has bottom holes, you can place water in a tray under the container.
- In a week or two, when microgreen seedlings are somewhere between two and four inches tall, they are ready for harvest. Use scissors to snip just above the soil.
- Enjoy in many ways! Try microgreens as salad, in sandwiches/wraps, added to smoothies or on top of most any dish (pizza, pasta, grain bowls, soups). They are great to nibble on fresh.
Have a comment on this story? Write to the editors. Include your full name, city and state. Selected comments will be edited for publication in print or online.